What’s an Intake? Everything You Need to Know
You don’t need a thicker clipboard—you need an intake that does real work.
Here’s the clear, no-fluff guide to what an intake is, why it matters, and how to set it up so it protects clients, protects you, and speeds up your day.
What an intake actually is (and isn’t)
Intake is the info and consent you collect before the service: health, medications, sensitivities, goals, policies, and photo/communication permissions.
It’s not a legal novel. It’s a decision tool—for you and for the client.
Why intake matters
Safety: flags allergies, meds, and contraindications before you touch skin or hair.
Consistency: you stop guessing; every service starts with the same baseline.
Boundaries: policies are seen, acknowledged, and enforceable—no awkward debates.
Speed: when it’s digital, visit one starts calm and visit two starts personal.
What to include (one screen per section)
Client basics: name, mobile, email, pronouns, preferred contact
Health & medications: allergies, sensitivities, skin/hair conditions, recent treatments, pregnancy/breastfeeding, medical care notes.
Service history & goals: last service/date, what they liked, what they want today, big day coming up.
Contraindications checklist (service-specific): recent peels/retinoids/sun/sauna/antibiotics, open wounds, infections.
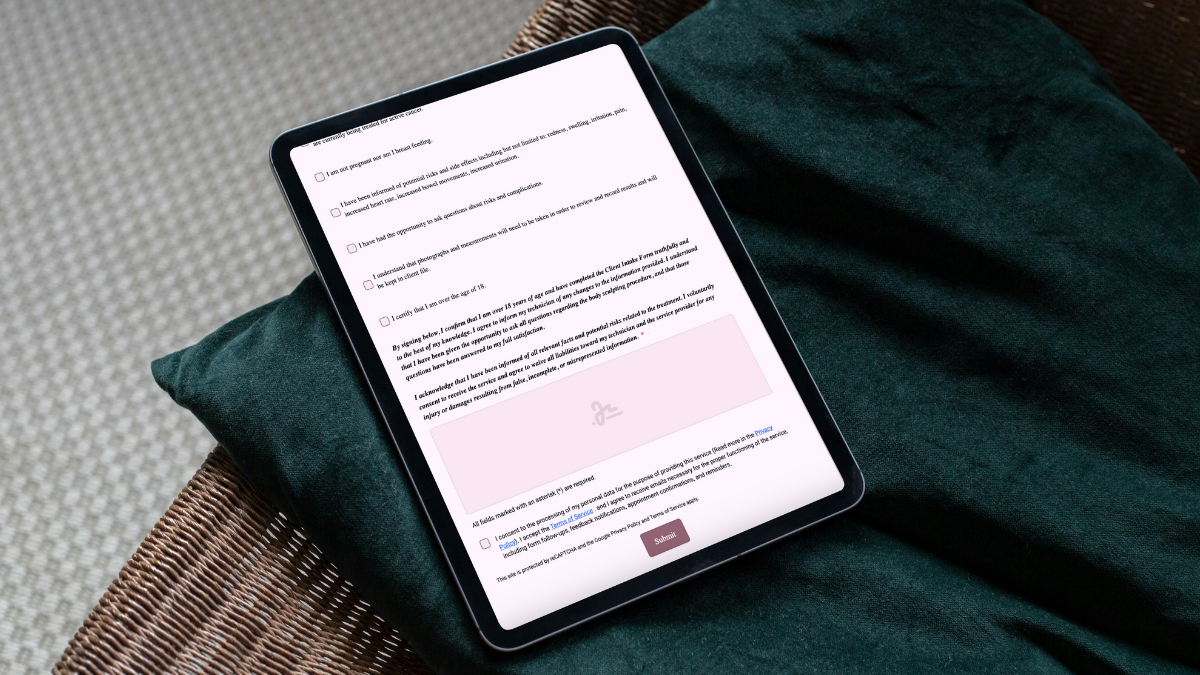
Policies with checkboxes: late/cancel/no-show window, deposits/prepay rules, age/minor rules.
Media & communication consent: permission to take/store photos, to text/email reminders/aftercare.
Sign + date (typed name is fine if your platform supports it).
Optional add-ons question: “Interested in a 10-minute [add-on] today?”—preps your upsell without pressure.
Keep every question plain and scannable. If it takes longer than 3 minutes, you’re collecting too much.
Where intake lives (and when it appears)
Booking confirmation: one-tap link (mobile-first, no PDFs).
48-hour reminder: “Finish or update your form here.”
Front desk QR: for anyone who missed it.
Client record: forms auto-attach and are searchable so the second visit starts with “I saw you noted fragrance sensitivity—using the gentle cleanser again.”
How to keep it compliant and human
Use neutral, everyday language.
Put policies inside the form with short, separate checkboxes (not one giant “I agree”).
Show what you’ll do with the info and how clients can request changes.
For minors: include guardian details and a separate consent line.
Update rhythm (so it doesn’t go stale)
New clients: full intake + consent.
Returning clients: short “What changed?” refresher every 6–12 months or before higher-risk services.
Service-specific addendum: tiny checklist for peels, lightening, waxing, PMU, etc.
Scripts you can copy
Booking message:
“Thanks for booking! Please finish this 2-minute intake so your appointment starts smooth. You can update it anytime.”
At reception (for the QR):
“Scan here to check in and finish your form—keeps your visit on time.”
At consult (show you read it):
“I saw the note about retinoids—let’s switch to the gentler protocol today.”
Red flags your form should catch
New meds (especially antibiotics, isotretinoin)
Active flare-ups, infections, open skin
Recent peels/laser/tanning/sauna within your no-go window
Pregnancy/breastfeeding for services that require caution
Past reactions to adhesives, dyes, acids, anesthetics
When a red flag triggers, pause, adjust the plan, or reschedule. Your form earns its keep right there.
Tiny design choices that boost completion
One question per line, no walls of text.
Toggle/checkbox beats paragraph answers.
Progress bar; save-and-resume.
Auto-fill returning client data with an “update if changed” prompt.
Big Finish button and instant confirmation (“You’re all set for Thursday at 4:30”).
What not to do (I’ve seen this go wrong)
Don’t hide policies on a separate page.
Don’t rely on paper; photos of paper are not searchable.
Don’t collect data you’ll never use—more questions = fewer completions.
Don’t skip a signature; it’s your clarity anchor.
Your 7-day intake upgrade
Day 1: List only the questions you actually use to make decisions.
Day 2: Rewrite policies into three one-liners with separate checkboxes.
Day 3: Build a mobile form; add it to confirmations and 48-hour reminders.
Day 4: Create a tiny addendum for your highest-risk service.
Day 5: Add the check-in QR at reception and test it yourself.
Day 6: Create a notes template (sensitivities, products used, photo angles).
Day 7: Review five recent intakes; prune any question that didn’t change your plan.
Intake isn’t admin—it’s how you prove you listened before you even say hello. Make it clear, quick, and useful, and everything that follows feels easier.
We have everything you need at GlowForms—come and try it free for 7 days! 😉