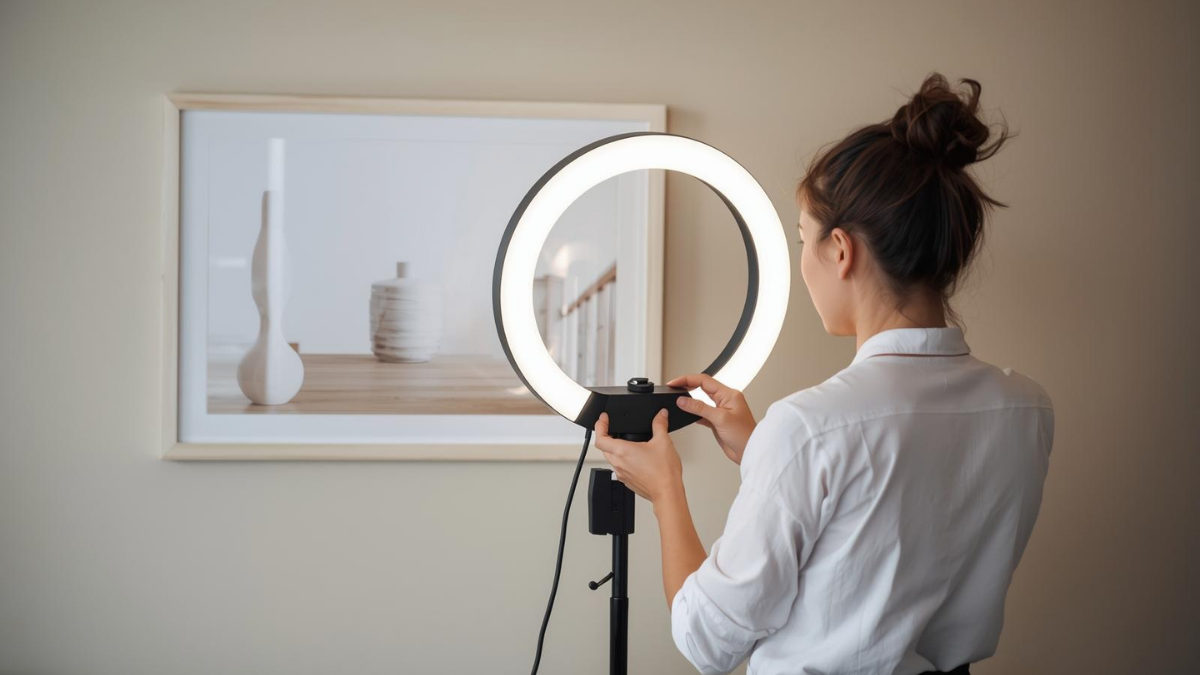
3 Salon Lighting Mistakes That Ruin Client Photos
2 min read
The photo looks great on your phone—until you post it and the color reads like a different client. It’s not your work. It’s your light. Here are the three lighting mistakes that quietly wreck results online—and the quick fixes.
What it looks like: Shiny forehead, dull mid-face, zero dimension.
Why it happens: Ceiling lights hit straight down, creating hotspots and eye sockets that look tired.
Fix:
Place a ring or panel light slightly off-center at head height (not above).
Aim for soft, even light—step the client one pace forward from the wall to avoid bounce glare.
If you can’t buy gear today: stand your client facing a window, then add one lamp at a 45° side angle.
What it looks like: Skin reads gray or orange; hair color shifts between frames.
Why it happens: A window (cool daylight) + warm bulbs + neon backbar fight each other.
Fix:
Pick one color family and stick to it. For skin and hair, warm-white LEDs around 3000–3500K are forgiving and bookable.
Kill extras: turn off nearby blue-tinted bulbs or neon.
If you shoot by a window, turn other lights off so daylight wins.
What it looks like: Lashes vanish, brows warp, toner looks brassy, jawlines shift.
Why it happens: You move around; the client doesn’t. Or you shoot too close and the lens distorts.
Fix:
Mark your feet position with a strip of tape; shoot at the same distance every time.
Keep the camera level with the feature (brows/lips at lens height).
Step back one arm’s length plus a palm; crop later to avoid distortion.
Backdrop: one matte, neutral wall (no texture).
Light: ring/panel at head height, 45° off-center.
Cue card: “Chin parallel / eyes to camera / relax shoulders.”
Tray: comb/clip, lint roller, tissue.
QR: “Book again / Review us” to catch the mirror moment.
Turn off clashing bulbs → confirm one color temp.
Wipe lens (yes, it matters).
Match before and after distance and angle.
Take one tight and one wider shot. Done.
Dial these in and your photos start telling the truth you need: consistent, believable, bookable results.
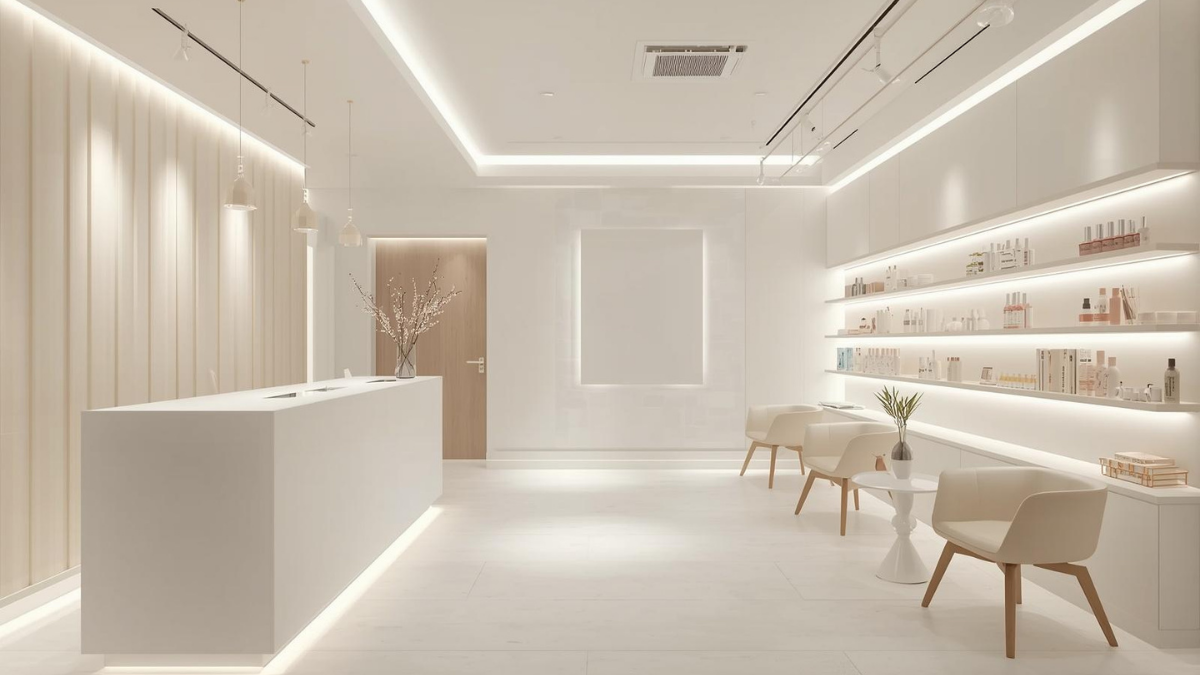
You don’t need a renovation. You need a few smart tweaks that make your studio feel calmer, more expensive, and more “done” the second someone walks in.
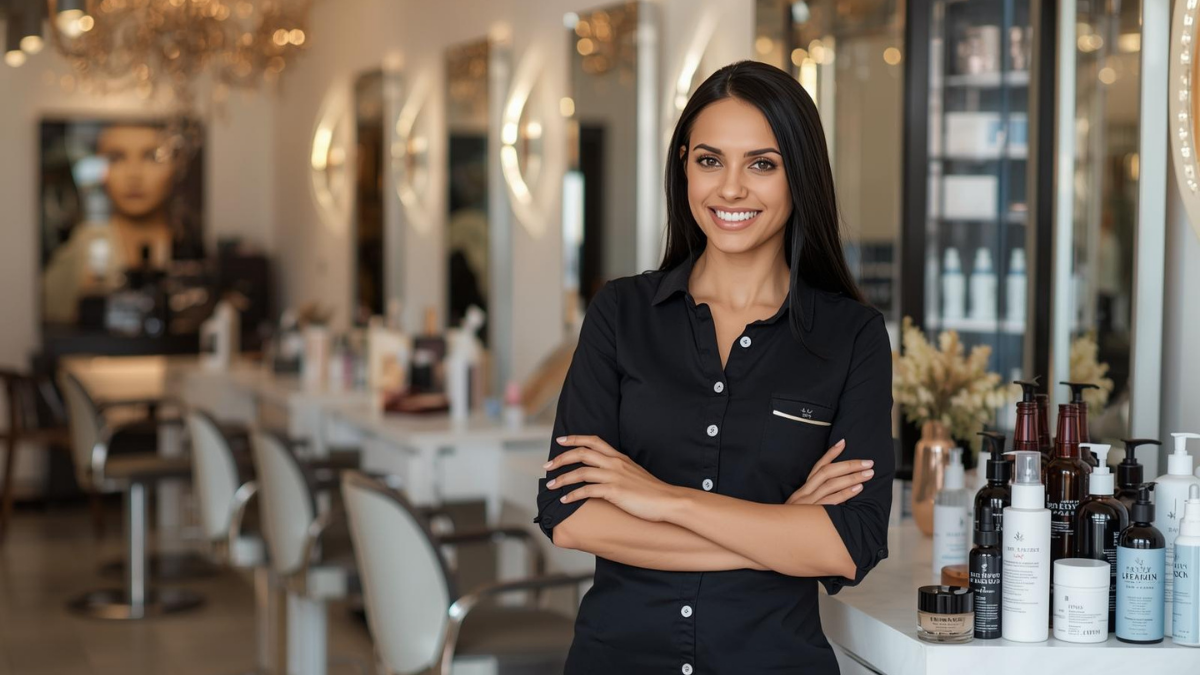
Gifts don’t need bows and big budgets. Use small, thoughtful touches—welcome kits, milestone notes, minis at the mirror—that feel personal and spark rebooks.

The right pre-booking questions save time, prevent mismatched appointments, and help new clients feel clearer, safer, and easier to guide from the start.