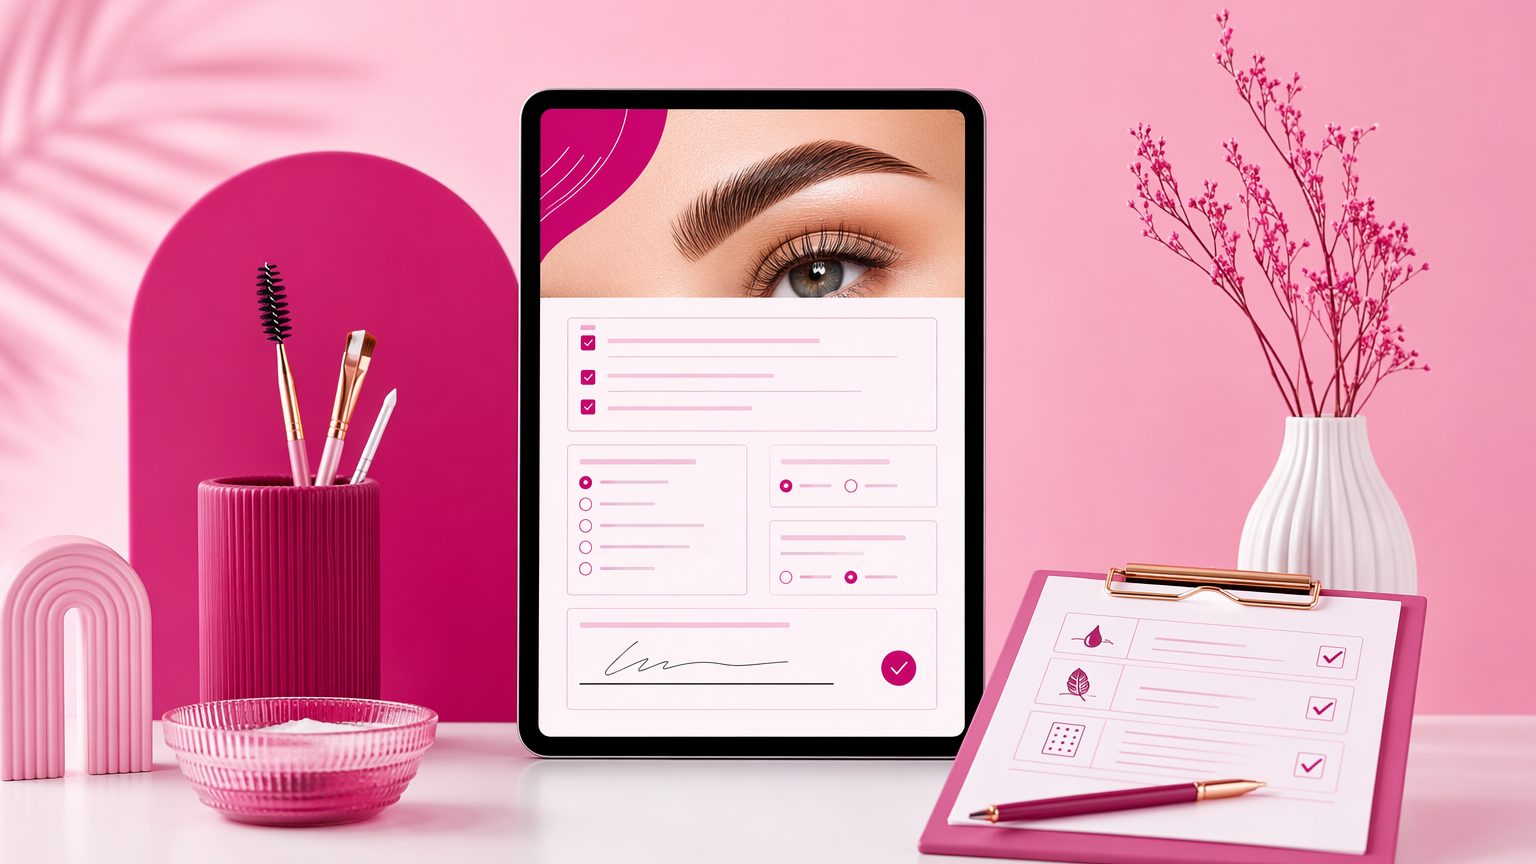
How to Create a Client Intake Form for Brow Lamination Services That Covers Skin Sensitivity, Aftercare, and Patch Testing
8 min read
A strong brow lamination client intake form does more than collect a name and signature. Because brow lamination is a chemical service, your form should help you gather relevant client information before the appointment, flag possible sensitivity concerns, and document consent clearly. It also sets the tone for a smoother client experience and better recordkeeping. Below, you’ll find the key sections to include, what to ask about skin sensitivity, how to document patch testing, and how to cover aftercare without overwhelming the client.
A good brow lamination consultation form should collect treatment history, identify possible sensitivity concerns, document informed consent, and confirm that the client understands aftercare. It should also be easy to complete on a phone before the appointment.
The goal is not to diagnose skin conditions or give legal advice. It is to capture client-provided information clearly and consistently. When your intake is well structured, check-in feels faster, appointments run with fewer surprises, and client records stay easier to review later.
Start with the basics. Every beauty client intake form for brow services should include:
You should also leave space for internal use, such as practitioner name and appointment notes. That keeps service details tied to the same record instead of scattered across messages or paper files.
Before you perform brow lamination, ask about recent services and product use around the brow area. This part of the form helps you spot timing issues and avoid rushed chairside questioning.
Useful questions include:
Timing matters here. If a client recently used strong actives or had another service near the brows, that may affect sensitivity or how you approach the appointment. Your form does not need to make decisions for you, but it should surface the information clearly.
Many forms bury sensitivity questions inside a long medical section. For brow lamination, it is better to create a dedicated skin sensitivity intake form section with plain language.
Use simple yes/no questions such as:
Then add an open text field: “If yes, please describe the reaction or concern in your own words.”
That last field matters. “Sensitive skin” can mean many things to different clients. A short written explanation gives you better context than a checkbox alone. Keep the wording practical and easy to scan so a busy client can answer quickly without confusion.
If patch testing is part of your brow lamination process, your form should document it consistently. This is especially useful if you offer add-ons that may involve additional products, such as tinting.
Your brow lamination patch test form section can include:
It is also smart to include a clear acknowledgment that a previous patch test does not guarantee that a reaction will never occur. If your policy allows clients to decline patch testing, include a field for that too, based on your service model and local requirements.
The key is consistency. Every brow lamination booking should follow the same documentation process so your records stay clean and easy to review.
Your brow lamination consent form should confirm that the client understands the nature of the service and that results can vary based on hair texture, hair condition, and aftercare. It should also confirm that the client has disclosed relevant treatment history, allergies, and sensitivity information to the best of their knowledge.
Good brow treatment consent form language is calm and direct. It should also state that the client had the opportunity to read the form and ask questions before agreeing to proceed.
If you use a brow lamination waiver form, keep it focused on the service itself. Avoid lumping unrelated permissions into the same section. Businesses may also want to review wording with their own legal or insurance advisors based on location and services offered.
One of the most overlooked pieces of a brow lamination aftercare form is simply documenting that aftercare was provided and understood. Aftercare should not live only in a verbal script.
Add a short checklist or acknowledgment covering points such as:
If you want to provide more detail, link or attach a separate aftercare sheet rather than overcrowding the intake form.
A few extra sections can make your form more useful without making it feel long:
Separating these permissions is important. A client agreeing to the service is not the same as agreeing to photos or marketing messages.
A clean brow lamination consultation form often follows this order:
Group related questions together so the form feels fast, not intimidating. If you use digital intake forms for brow artists, conditional logic can help. For example, if a client answers yes to previous reactions, you can show an extra detail field only when needed. Shorter, smarter forms usually get completed more reliably than long repetitive ones.
Paper forms can work, but they often create issues with legibility, storage, and finding records later. Digital forms are easier to send before the appointment, which gives clients more time to answer thoughtfully instead of rushing while seated in the chair.
For repeat visits, digital signatures and centralized records make a big difference. You can quickly review the last brow lamination consent form, patch test notes, and aftercare acknowledgment in one place. The benefit is not technical complexity. It is simply a cleaner workflow.
Watch out for these common form-building problems:
Your form should evolve with your business. Review it whenever you change products, update aftercare instructions, or expand your service menu. It is also worth checking whether the form still works well on mobile and whether clients keep asking the same questions at check-in.
A strong form is never just a one-time setup. It should reflect your current workflow for patch testing, consultations, and record storage.
A professional brow lamination client intake form should cover contact details, service history, skin sensitivity, patch testing, consent, and aftercare acknowledgment. When those pieces are organized well, you get smoother appointments, clearer documentation, and a better client experience from the start.
If you want a simpler way to create mobile-friendly forms, collect signatures, and keep brow client records organized in one searchable place, try GlowForms.
Loyal clients do not stay because you are the cheapest. They stay when the experience feels consistent, personal, professional, and worth coming back for.

GlowForms reminders aren’t “don’t forget your appointment” nags. They’re polite nudges to finish intake forms before clients arrive—so you start on time and sta

Booking a minor? Use a parent/guardian signature, ID check, and service-specific consent with aftercare. Here’s a clean setup that keeps records tight and safe.